ABOUT
Pronounced “say,” SEI blends versatility with bold simplicity. Inspired by heritage and current contemporary, the silhouettes are kept clean to accentuate you, the wearer. Based in Vancouver, SEI is the result of its rugged yet temperate environment.
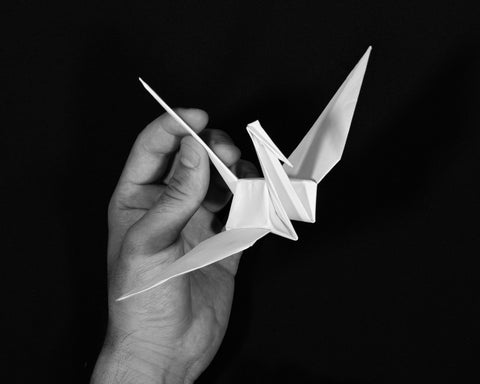
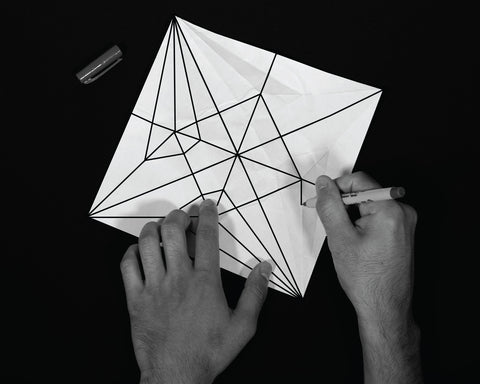
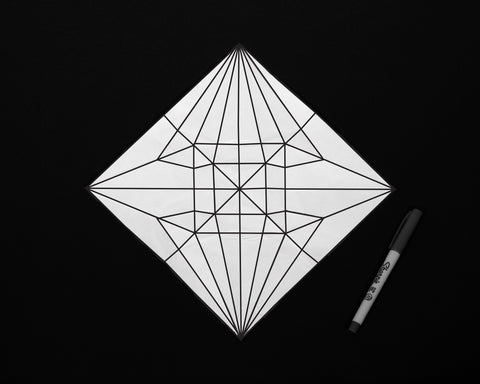
Take a plain piece of paper and fold it into a beautiful bird. Pull apart the bird and the lines remain. This is the logo; a reminder of foundation.

How To Make a Paper Crane
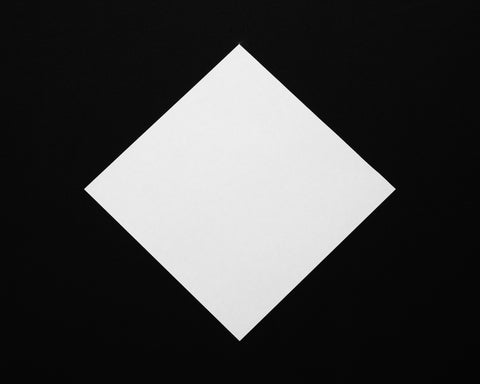
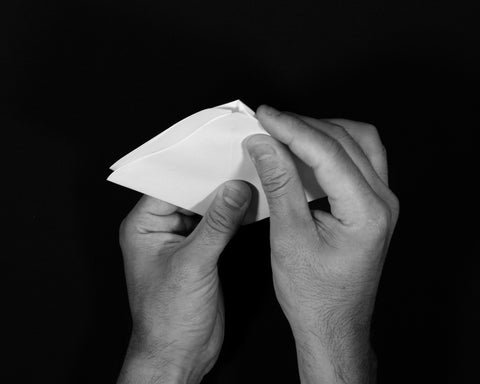
Start with a perfect square.
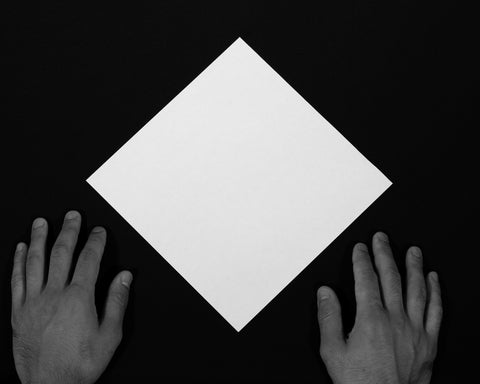
Try to make all corners and points as flush and as crisp as possible.

Fold in half, matching up the corners at the top.
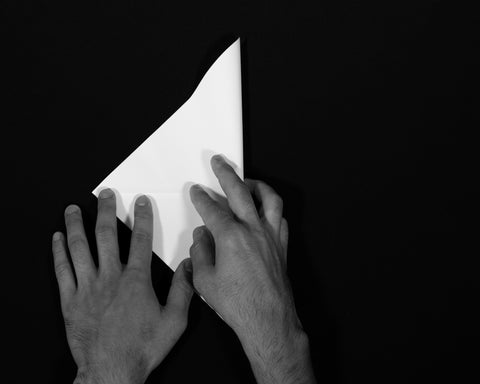
Fold the other half.

Unfold the paper.
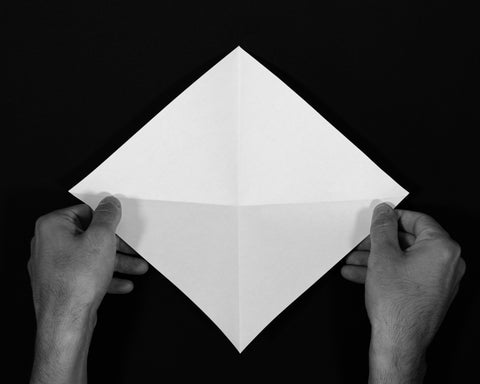
Make sure the creases are solid.
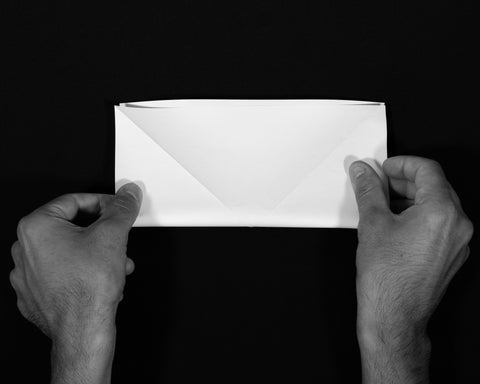
Fold in half.

Unfold, making sure the line is directly in the centre.
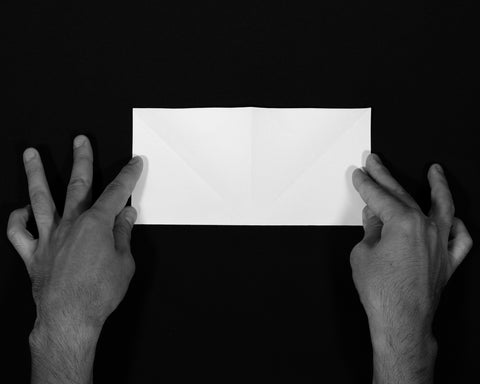
Do the same for the other half.

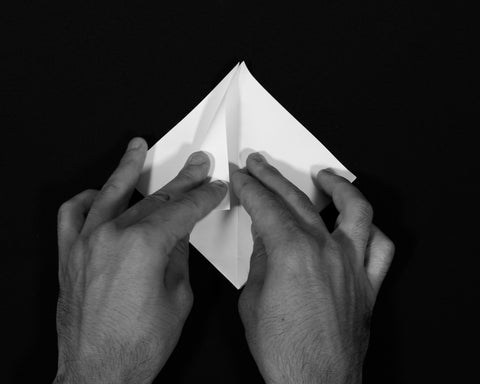
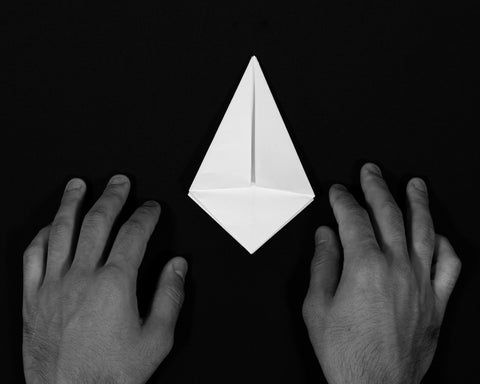
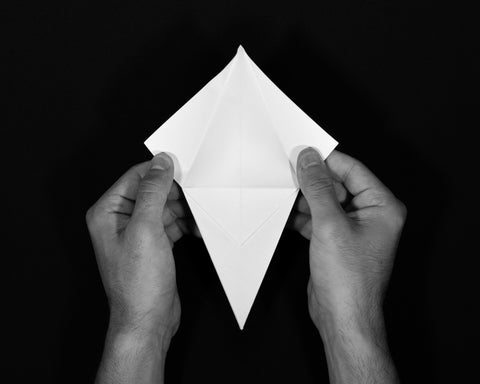
Using the creases, fold one side inward into a smaller diamond shape.
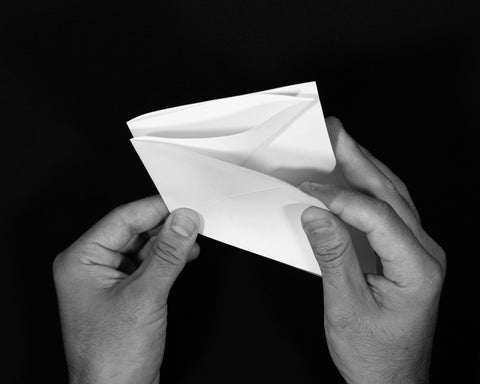
Line up the inner fold to the centre line.
Do the same on the other side.
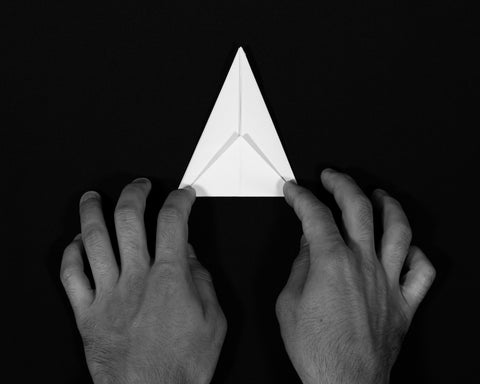
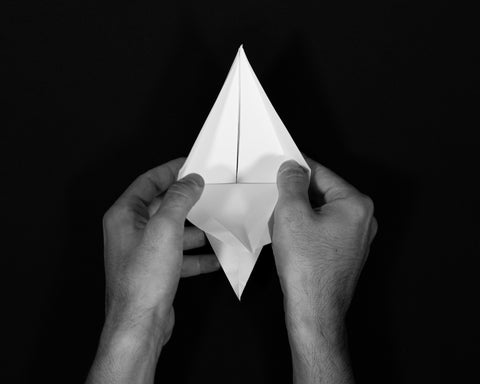
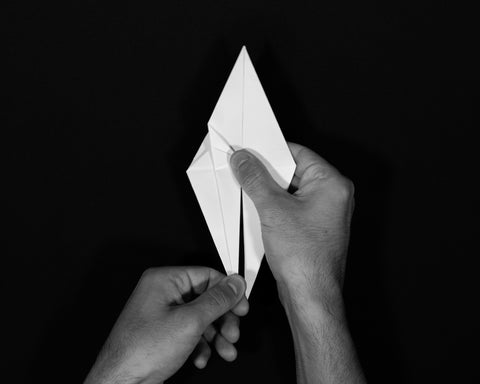
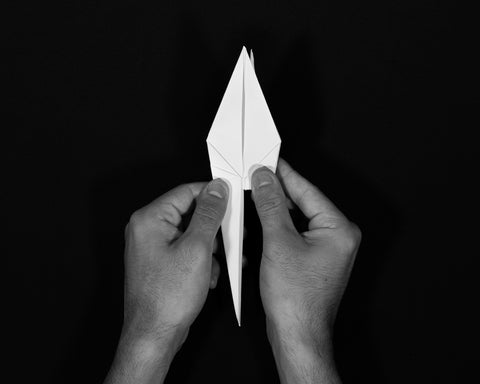
Making sure the open side is at the top, fold down one side from the top, lining up with the centre line.
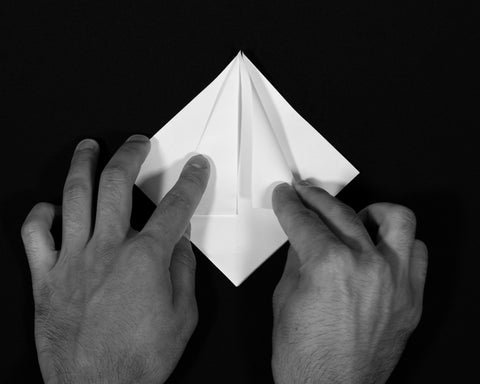
Do the same on the other side.
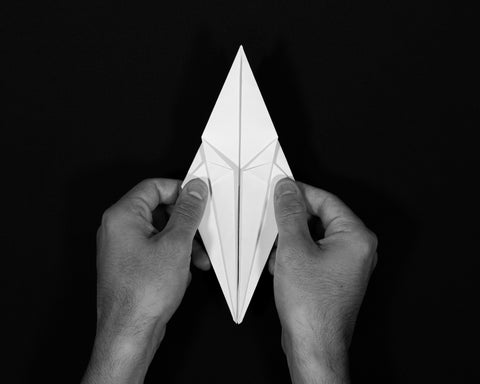
Flip over, and do the same thing on the other side.
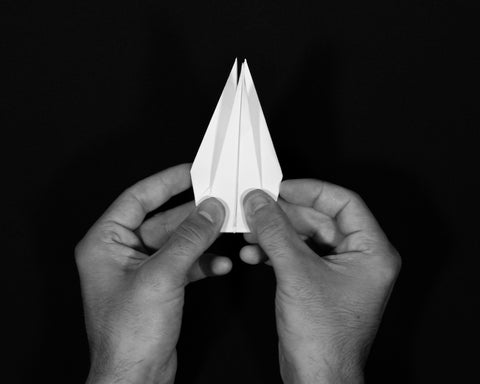
Once all four sides are folded, it should look like an upside down ice cream cone.
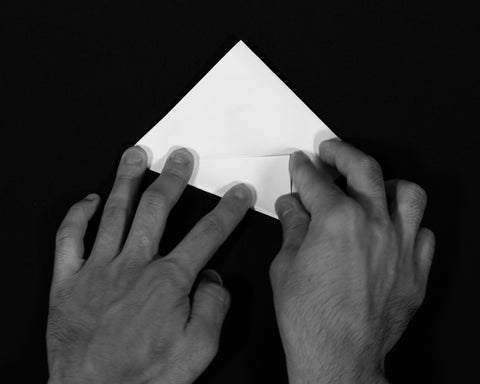
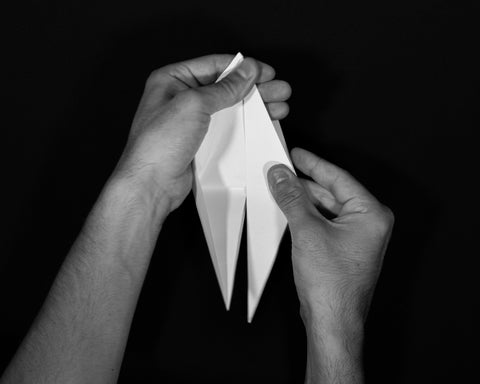
Fold up the bottom, following the line.
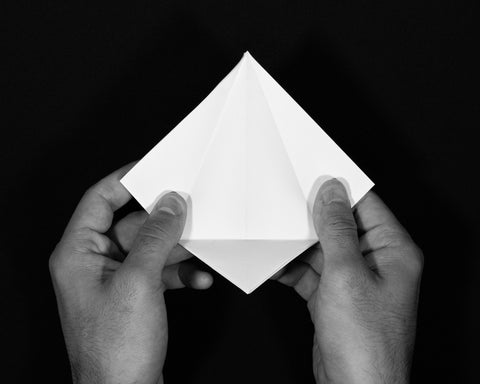
Open up, making sure the creases are solid.
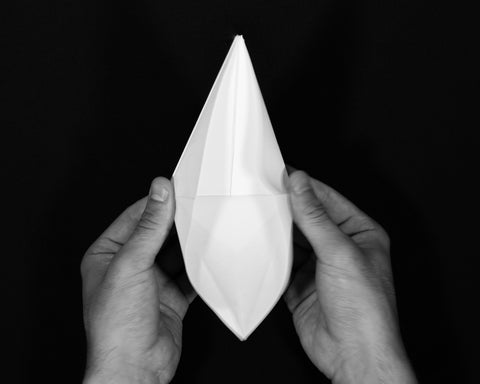
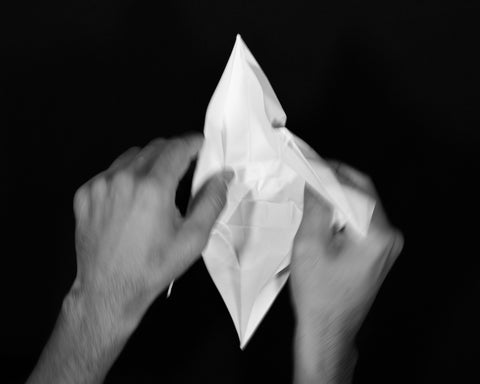
Pull from the top flap, pressing down at the sides as the new shape forms along the creases.

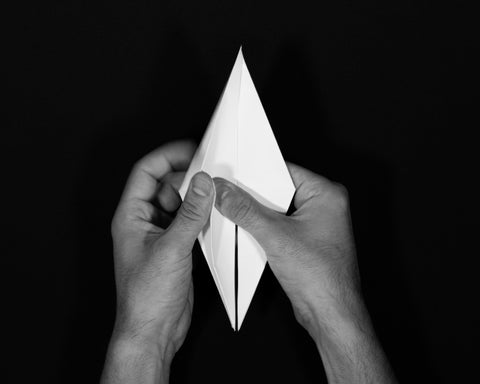
Press down all folds, so everything looks centred and aligned.
Flip over and open the other side.
Repeat the same steps from the opposite side.
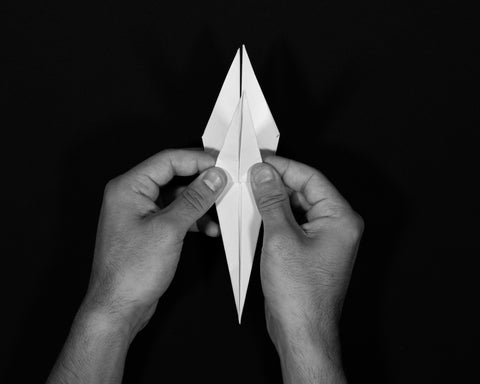
Press down the folds, making sure the “legs” are on the bottom.
Use a fingernail if necessary to make sure all creases and folds are defined.
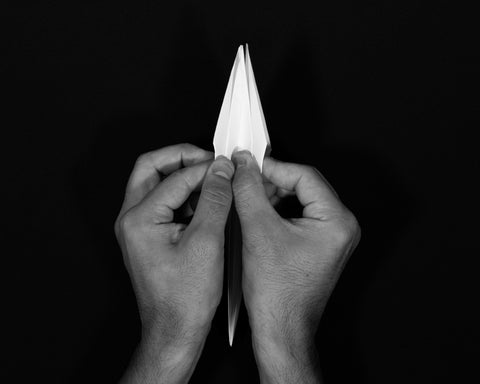
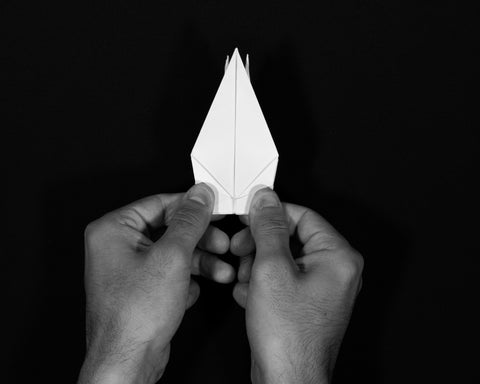
From the bottom, fold in one side to line up with the centre.
Press down the fold, making sure the bottom point is flush and clean.
Do the same for the other side.

Flip over and repeat the same steps from the opposite side.

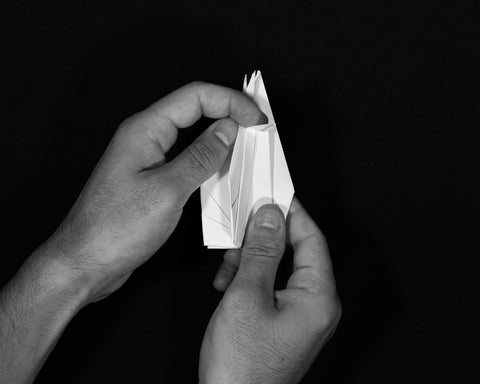
Open sides and fold down so that “legs” have been spread and pressed.
Fold up from the bottom, pressing along the crease.
Following the centre line, fold inward so that the bottom is wedged and folded flat.
Turn and press down wedge.
Open the other and repeat the same steps.
Press out to the side.
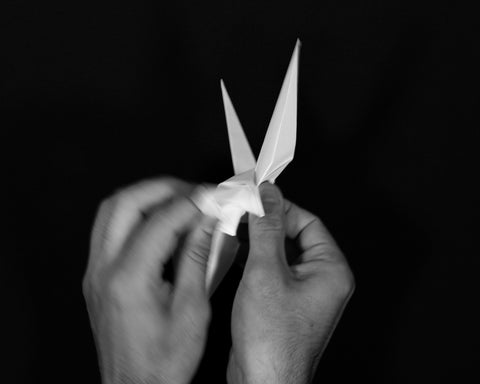
On one side, open and bring down a small portion from the top for the head.
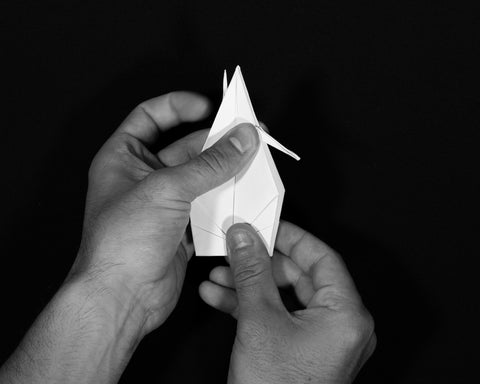
Press out to the side again to create the head.
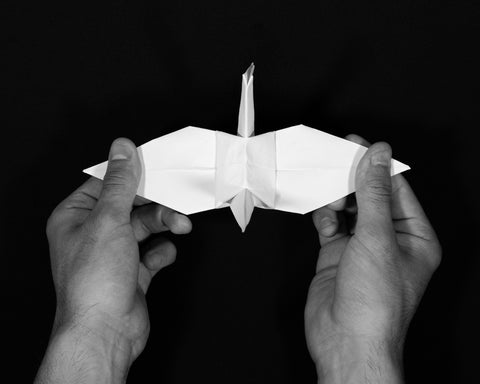
Slowly and gently, pull down on each of the wings so the crane opens and forms the body.